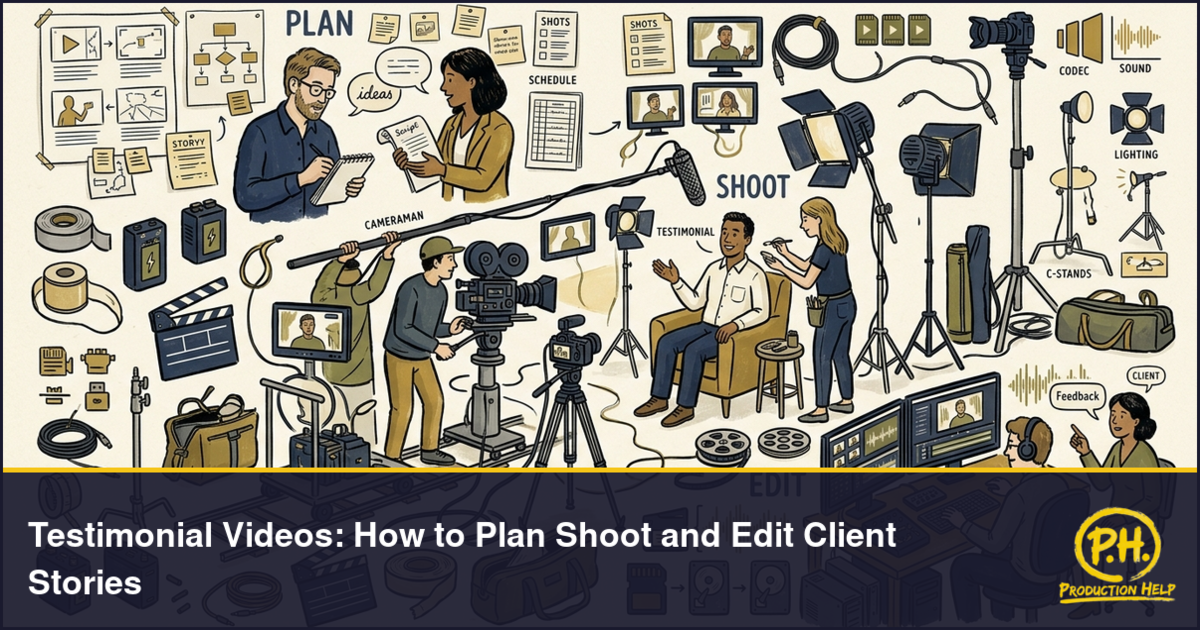
Testimonial Videos: How to Plan, Shoot, and Edit Client Stories
A strong testimonial video does more than place a satisfied customer in front of a camera. It turns a real experience into a focused story that helps viewers understand a problem, see how it was solved, and recognize the result. That natural feeling depends on careful planning, thoughtful interviewing, reliable production, and disciplined editing.
Testimonial videos can support landing pages, sales presentations, case studies, social campaigns, and recruitment. The format may change, but every project should begin with a clear audience and one specific business objective.
Define the Goal Before Planning the Shoot
Decide what the video should help the audience understand or do. A testimonial created to introduce a company requires a different story than one designed to support a product launch or answer a common sales objection.
Identify the primary viewer, the challenge that matters to them, and the proof they need before taking the next step. Use those points to guide the client selection, interview questions, B-roll plan, and final edit.
The creative brief should include the audience, the central customer problem, the desired result, delivery platforms, the preferred runtime, the required brand elements, and the call to action. Keep the message focused. Trying to cover every service and feature usually produces a scattered client story.
Choose a Client With a Specific Story
The best participant is not always the company’s largest customer. Look for someone who can clearly explain the situation before the purchase, the decision process, the experience of working with the company, and the outcome.
Hold a short pre-interview before confirming the shoot. Use it to identify the strongest parts of the story, verify important facts, and learn which topics may require approval. Share general themes with the participant, but do not provide a script to memorize. Prepared talking points can help, while rehearsed marketing language often sounds unnatural.
Obtain written permission covering the recording and intended use of the footage. Confirm that performance claims, statistics, and comparisons can be supported. The testimonial should reflect the participant’s honest experience, and unusual results may require added context.
Build Interview Questions Around the Client Journey
A useful testimonial normally moves through five stages: the situation, the problem, the search for a solution, the experience, and the result. Ask open questions that encourage complete answers.
Strong prompts include:
- What problem were you trying to solve?
- Why was that problem important?
- What other options did you consider?
- Why did you choose this company or product?
- What was the experience like once the work began?
- Was there a moment when you knew the decision was working?
- What measurable or practical results have you seen?
- How has the change affected your team or daily work?
- What would you tell someone considering the same solution?
Follow broad answers with questions such as, “Can you give me an example?” or “What changed because of that?” Specific details make the final story more credible.
Avoid leading questions that place marketing language in the client’s mouth. The interviewer’s role is to uncover the story, not force a slogan into the response.
Plan the Location, Schedule, and B-Roll
Choose a location that supports the story while remaining quiet, controlled, and visually clean. A client’s office, facility, store, or project site can provide useful context, but the crew must be able to manage noise, interruptions, lighting, and background activity.
Scout the location in person or request current photos and a video walkthrough. Check room size, power access, window direction, heating and cooling noise, nearby traffic, construction, and visible branding.
Plan B-roll before the shoot. Useful footage may include the client at work, team interactions, product use, customer activity, environmental details, exterior shots, and close-ups of relevant processes. Each shot should support a statement likely to appear in the interview.
Build the budget around the finished deliverables, not only the filming day. Include crew travel, setup, interview time, B-roll, file management, editing, graphics, captions, music licensing, review rounds, and exports. Multiple testimonials can be filmed in one day if the location and setup stay the same. Leave room in the schedule for delays and natural conversation.
Use a Flexible Camera, Lighting, and Audio Setup
Testimonial production does not require one camera model or a specific lens. The right setup depends on the location, crew, delivery format, available space, and visual style.
A common approach uses one main camera and a second angle for editing flexibility. Place the primary camera near eye level and position the interviewer slightly beside the lens for a natural eyeline. A medium close-up works well for many interviews, but a wider shot can help when the setting adds to the story.
Use soft, controlled lighting that separates the participant from the background. Window light can help, but changing daylight may create continuity problems during a long interview. Production lights give the crew more control over exposure and color.
Record clean dialogue with a lavalier microphone, a boom or shotgun microphone, or both when the production allows. Monitor the sound during the interview. Listen for clothing noise, air conditioning, traffic, refrigerators, hallway voices, and wireless interference. Record the room tone before leaving.
Help the Client Feel Comfortable
Most clients are not professional presenters. Explain the process before recording and begin with simple background questions that help the participant settle into the conversation.
Ask one question at a time, maintain eye contact, and allow the client to finish before speaking. A brief silence can be useful because participants often add a stronger detail after their first response.
Request another take when an answer lacks context, contains an unsupported statement, or ends as an incomplete sentence. Repeating every answer until it sounds polished can remove the natural quality that makes a testimonial believable.
Do not interrupt every pause or minor verbal imperfection. Editors can clean many issues, and B-roll can cover selected cuts. Focus on meaning, clarity, and genuine emotion.
Protect the Footage Before Leaving
Review critical clips before the participant and crew leave. Confirm that the audio recorded correctly, the main camera remained in focus, and the strongest points were captured in complete sentences.
Back up the media to separate storage as soon as practical. Organize files by camera, audio source, interview subject, and shooting date. Verify spellings, job titles, company names, statistics, and product references while the client is still available.
Edit the Story Around the Client’s Experience
Begin by transcribing and reviewing the full interview. Mark the strongest statements, then build an interview outline before adding music, graphics, or effects.
A clear structure often follows this order:
- A strong opening statement or result
- The client’s original challenge
- The decision to seek a solution
- The experience of working with the company
- Specific results or changes
- A recommendation or forward-looking statement
Use B-roll to illustrate the story, cover interview edits, and create visual rhythm. Avoid placing unrelated footage over a specific claim. The image should reinforce what the speaker is describing.
Clean the dialogue before building the final mix. Reduce distracting noise carefully, smooth noticeable edits, and keep music below the voice. Lower thirds should identify the client without dominating the frame. Logos, colors, and typography should follow the approved brand guide.
Create Versions for Each Platform
There is no single ideal length for every testimonial. A social version may run for 20 to 45 seconds, while a website or sales presentation can support a longer story. Many main testimonial edits fall between one and three minutes, but the content should determine the runtime.
Define the deliverables before editing begins. These may include a full horizontal video, short social cutdowns, vertical versions, clean footage without graphics, burned-in captions, separate subtitle files, thumbnails, and individual quote clips.
Captions make the message easier to follow when viewers watch without sound and improve access for a broader audience. Review automatic transcripts carefully because names, technical terms, and company language are often transcribed incorrectly.
Manage Reviews and Control Costs
Choose the final approver before post-production begins. Too many reviewers can create conflicting notes and weaken the story. Use time-coded feedback and separate factual corrections from personal preferences.
Confirm all claims, names, titles, logos, and product references before the final export. The participant should also understand where and how the finished video will be used.
The best cost savings come from preparation. A focused brief reduces interview time, a location scout prevents technical problems, and a planned B-roll list limits unnecessary filming. Protect the elements that directly affect credibility: clear audio, thoughtful questions, accurate claims, and a coherent edit.