
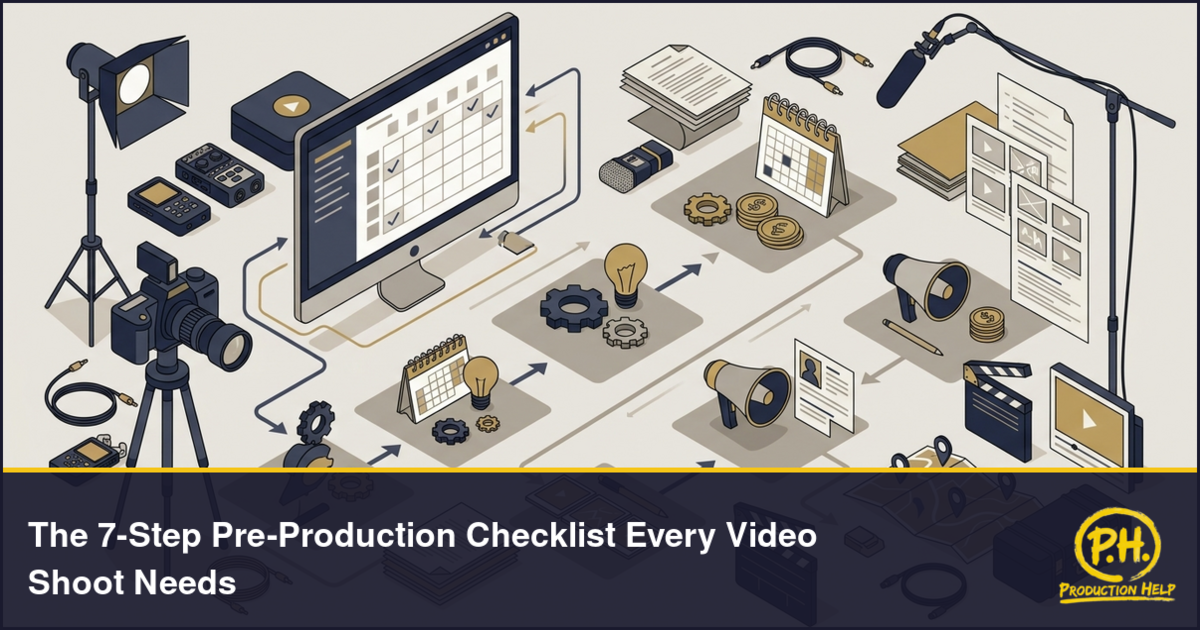
A COMPREHENSIVE GUIDE TO THE ESSENTIAL 7-STEP PRE-PRODUCTION CHECKLIST FOR EVERY VIDEO SHOOT
Pre-production is where a video project either sets itself up for success or starts accumulating problems that show up on set. Skipping steps here leads to delays, budget overruns, and a final product that doesn’t hit the mark. A solid checklist keeps producers, marketers, and business owners on track while cutting down on surprises when the cameras start rolling.
STEP 1: DEFINE YOUR OBJECTIVES AND TARGET AUDIENCE
Start by identifying what the video needs to accomplish. Is the goal brand awareness, customer education, lead generation, or internal training? Set measurable objectives that connect directly to a business outcome.
Then get specific about your audience. Demographics, pain points, preferences, and viewing habits should all inform the tone, messaging, and visual direction. A product explainer for enterprise buyers requires a completely different approach than a social campaign targeting consumers. Clear objectives and audience insight keep every downstream decision focused and resource-efficient.
STEP 2: FINALIZE THE SCRIPT AND STORYBOARD
With goals and audience locked in, build a script that serves the core message without unnecessary filler. Every scene should earn its place. Circulate the draft to all stakeholders, collect feedback in one round, and finalize. Late-stage rewrites are one of the fastest ways to blow a budget and push a timeline.
Translate the script into a storyboard that maps out shot sequences, framing, and transitions. This step exposes resource needs early: how many actors, what props, which locations, and how long each segment will take to shoot. A finalized storyboard gives your crew clear direction and prevents costly improvisation on set.
STEP 3: SCOUT AND SECURE LOCATIONS
Location choices affect aesthetics, logistics, and budget in equal measure. When evaluating potential sites, assess:
- Accessibility for crew, cast, and equipment vehicles
- Permit and permission requirements for commercial filming
- Natural lighting conditions and available power sources
- Ambient noise levels and soundproofing needs
- On-site facilities including restrooms and staging areas
- Backup options for weather or access issues
Visit each location during the same time of day you plan to shoot. This gives you a realistic read on light and sound conditions. Start permit applications early. Legal complications discovered the week before a shoot can shut down production entirely.
STEP 4: ASSEMBLE YOUR CREW AND CAST
The right team makes a shoot day run smoothly. Key roles to fill based on project scope:
- Director to guide creative execution
- Camera operator for equipment handling and shot framing
- Sound technician for clean audio capture
- Talent or on-camera subjects matched to the script’s requirements
Hire based on experience relevant to your project type. A corporate interview setup calls for different expertise than a multi-location brand film. Set clear expectations on roles, call times, wardrobe, and deliverables. Confirm agreements in writing before anyone shows up on set.
STEP 5: PREPARE AND TEST ALL EQUIPMENT
Technical problems on shoot day are almost always preventable. Build your equipment list based on the script and location requirements:
- Cameras matched to your resolution and visual style needs
- Lighting kits for consistent exposure and mood control
- Audio gear including microphones, mixers, and recorders
- Support equipment like tripods, stabilizers, and sliders
- Backup essentials: extra batteries, memory cards, and storage drives
Test every piece of equipment before the shoot. Check battery life, storage capacity, lens compatibility, and firmware. A packing checklist ensures nothing critical gets left behind and keeps setup time predictable.
STEP 6: BUILD A DETAILED SHOOT SCHEDULE AND CALL SHEETS
Map each shoot day hour by hour. Include setup and teardown windows, shot blocks, meal breaks, travel time between locations, and buffer for the unexpected. A schedule that looks tight on paper will fall apart on set.
Distribute call sheets to every crew and cast member in advance. Each sheet should include call times, location addresses with parking details, contact information, the day’s shot sequence, and any special notes. Good call sheets eliminate confusion and keep everyone moving in the same direction.
STEP 7: RUN A FINAL PRE-PRODUCTION REVIEW
Before shoot day, bring key team members together for one final walkthrough. Review the schedule, shot list, equipment checklist, location logistics, talent confirmations, and permit status. Identify anything still unresolved and assign someone to close it out.
This meeting is the safety net. A 30-minute review now can prevent hours of problem-solving when the crew is on the clock. Walk onto set knowing that every detail has been accounted for.
WRAPPING UP
Every minute spent in pre-production pays back on set in saved time, lower costs, and better footage. These seven steps cover the ground that separates a controlled, productive shoot from one that runs on improvisation and damage control. Run through the full checklist before every project and you eliminate the most common sources of delays, budget overruns, and compromised quality.